How to Install a French Drain?
Are you tired of dealing with waterlogged areas in your yard or basement after heavy rainfall? Installing a French drain could be the solution you've been searching for. In this comprehensive guide brought to you by Sunshine Plumbers, we'll walk you through the step-by-step process of installing a French drain to effectively manage excess water and protect your property from water damage.
What is a French Drain?
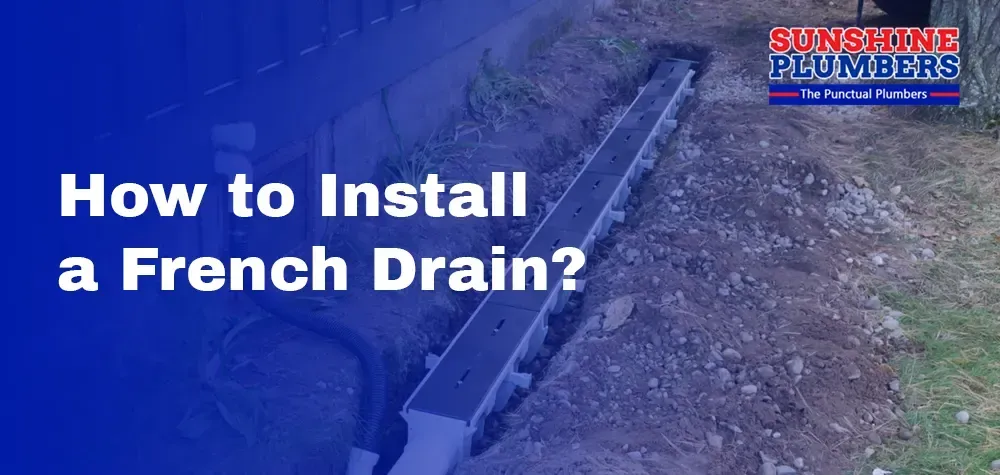
A French drain is a simple yet effective drainage system designed to redirect surface water away from areas prone to flooding or pooling. It consists of a perforated pipe surrounded by gravel or rock, buried in a trench, and sloped to facilitate the flow of water away from the desired area. French drains are commonly used to alleviate water buildup around foundations, basements, and low-lying areas of the landscape.
Materials You'll Need
Before you begin, gather the following materials:
- Perforated drainage pipe (usually PVC)
- Gravel or rock
- Landscape fabric
- Shovel
- Tape measure
- Level
- Marking paint or flags
- Digging tools (such as a trenching shovel or mattock)
- Pipe connectors and fittings (if necessary)
- Backfill material (such as soil or sand)
Step-by-Step Guide to Installing a French Drain
Plan Your Drainage Route:
Before you pick up a shovel, take the time to meticulously plan your French drain's route. Survey your property after rainfall to pinpoint areas where water accumulates or pools. Use marking paint or flags to outline the path of your French drain, ensuring it diverts water away from these trouble spots and towards a suitable drainage outlet, such as a storm drain or dry well. Consider the natural slope of your landscape and aim for a gentle downward gradient to encourage efficient water flow.
Dig the Trench:
With your drainage route mapped out, it's time to get digging. Arm yourself with a sturdy shovel or digging tool and excavate a trench along the marked path of your French drain. Aim for a depth of 12-18 inches and width that comfortably accommodates the drainage pipe and surrounding gravel or rock. Use a level to ensure the trench slopes downward at a consistent gradient of 1 inch per 8 feet, allowing gravity to assist in proper drainage and water flow.
Lay Landscape Fabric:
To safeguard your French drain against future clogs and obstructions, line the bottom and sides of the trench with landscape fabric. This durable material acts as a barrier, preventing soil and sediment from infiltrating the drain while still allowing water to permeate through. Trim the fabric to size and secure it in place using landscaping staples or stakes, ensuring full coverage along the length of the trench.
Install the Perforated Pipe:
Now it's time to lay the heart of your French drain – the perforated drainage pipe. Position the pipe in the bottom of the trench, ensuring it conforms to the slope you've established and slopes gently towards the drainage outlet. If your drain requires multiple sections of pipe, use pipe connectors and fittings to join them securely, maintaining a continuous flow path for water to follow.
Add Gravel or Rock:
Surround the perforated pipe with a generous layer of gravel or rock, filling the trench to within a few inches of the top. This aggregate material is a natural filter, allowing water to percolate into the pipe while trapping the soil and debris above. Choose a size of gravel or rock that promotes optimal drainage without impeding water flow, and distribute it evenly to create a uniform layer around the pipe.
Cover with Landscape Fabric:
To further fortify your French drain against potential blockages, fold the excess landscape fabric over the top of the gravel or rock layer. This additional barrier shields the drain from infiltration by soil and sediment, helping to preserve its functionality over time. Secure the fabric in place and ensure complete coverage, leaving no gaps or exposed areas vulnerable to debris ingress.
Backfill the Trench:
With the drainage pipe and gravel bed securely in place, it's time to backfill the trench with soil or sand. Carefully fill the trench, compacting the backfill material lightly as you go to promote stability and proper drainage. Take care not to disturb the pipe or disrupt the slope of the trench, ensuring a smooth and even surface once the backfill process is complete. Use a rake or shovel to level and smooth the surface, blending it seamlessly with the surrounding landscape.
Test the Drainage System:
Before you call it a day, put your French drain to the test. Run water into the trench from a hose or simulate rainfall by pouring water over the surface. Observe how quickly the water drains away and assess the effectiveness of your installation. Make any necessary adjustments to the slope or positioning of the drain to optimize performance and ensure reliable drainage in the face of future downpours. With a well-installed French drain from Sunshine Plumbers, you can bid farewell to waterlogged landscapes and hello to a drier, healthier property.
Benefits of a French Drain
- Prevents water damage to foundations, basements, and crawl spaces
- Protects landscaping and hardscaping from erosion and waterlogging
- Improves overall drainage and reduces the risk of standing water and mosquito breeding
By following these simple steps, you can install a French drain to effectively manage excess water and protect your property from the damaging effects of water infiltration. For expert advice and professional installation services, trust the experienced team at Sunshine Plumbers to deliver reliable solutions and exceptional service. Say goodbye to waterlogged yards and hello to a drier, healthier landscape with Sunshine Plumbers by your side.