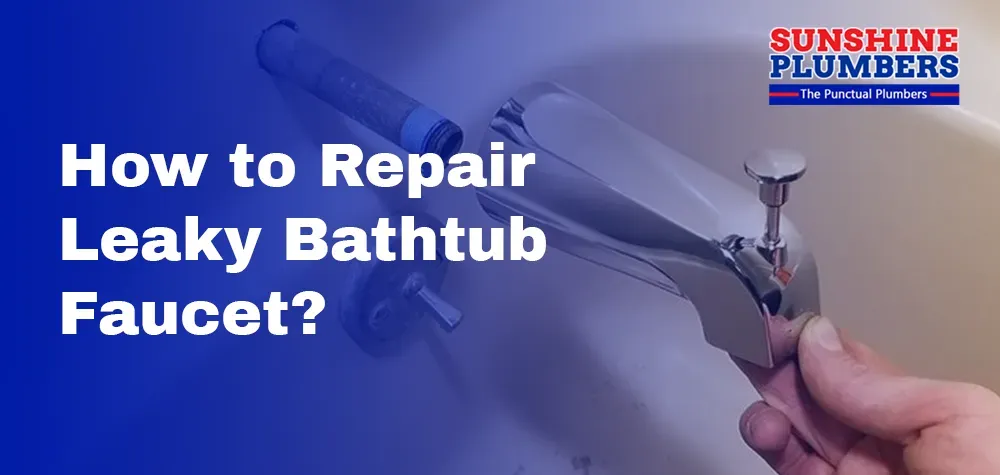
How to Repair Leaky Bathtub Faucet?
A leaky bathtub faucet not only wastes water but can also lead to annoying drips and costly water bills. At Sunshine Plumbers, we understand the importance of addressing this common plumbing issue promptly. In this detailed guide, we'll walk you through the steps to repair a leaky bathtub faucet like a pro, saving you time, money, and frustration.
Identifying the Problem
Before diving into repairs, it's essential to diagnose the cause of the leaky bathtub faucet. Common culprits include worn-out washers, faulty O-rings, damaged cartridges, or loose connections. By pinpointing the source of the leak, you can determine the appropriate repair method and necessary replacement parts.
Step-by-Step Guide to Repair a Leaky Bathtub Faucet
Follow these expert-recommended steps to repair a leaky bathtub faucet effectively:
Turn Off the Water Supply:
- The first step in repairing a leaky bathtub faucet is to shut off the water supply. Locate the water shut-off valves beneath the sink or near the bathtub and turn them clockwise to stop the flow of water. This precautionary measure ensures a safe working environment and prevents any accidental water damage during the repair process.
Remove Faucet Handle:
- Use a screwdriver or Allen wrench to remove the faucet handle, exposing the valve stem assembly underneath. Depending on the faucet type, you may need to unscrew a decorative cap or handle cover to access the retaining screw. Carefully detach the handle and set it aside for reassembly later.
Inspect Components:
- With the faucet handle removed, take a closer look at the valve stem assembly for signs of wear, corrosion, or damage. Check the condition of the washers, O-rings, and cartridge for any visible defects that may be contributing to the leak. Identifying the source of the leak is crucial for determining the appropriate repair method.
Replace Washers and O-rings:
- If the leak is originating from the valve stem assembly, it's likely due to worn-out washers or O-rings. Replace these components with new ones of the same size and type to restore a watertight seal. Use a wrench or pair of pliers to carefully remove the old components and install the replacements securely.
Inspect Cartridge:
- For cartridge-style faucets, carefully remove the cartridge and inspect it for signs of wear or damage. If the cartridge is worn, cracked, or faulty, replace it with a compatible replacement cartridge to restore proper functionality. Ensure that the new cartridge is inserted correctly and aligned with the faucet housing.
Reassemble Faucet:
- Once all necessary repairs have been completed, reassemble the faucet components in the reverse order of removal. Ensure that all connections are tight and secure to prevent leaks. Double-check that the handle is properly aligned and seated on the valve stem assembly before proceeding.
Turn On Water Supply:
- With the faucet reassembled, slowly turn on the water supply to the bathtub faucet. Gradually open the faucet handle to allow water to flow and check for any signs of leakage. Monitor the faucet closely for any drips or leaks, especially around the repaired components.
Test and Adjust:
- Test the repaired bathtub faucet by turning it on and off several times to ensure smooth operation and leak-free performance. Listen for any unusual sounds or vibrations that may indicate underlying issues. Make any necessary adjustments to the handle or components to eliminate leaks or drips completely. Once satisfied with the repair, clean up any debris and enjoy your leak-free bathtub faucet.
Preventative Measures
To prevent future leaks and prolong the lifespan of your bathtub faucet, consider implementing the following preventative measures:
- Regular Maintenance: Schedule routine maintenance for your bathtub faucet, including periodic inspection and lubrication of moving parts to prevent wear and corrosion.
- Avoid Excessive Force: Avoid using excessive force when operating the faucet handle, as this can damage internal components and lead to leaks over time.
- Prompt Repairs: Address any signs of leakage or dripping promptly to prevent further damage and water waste.
- Upgrade to Water-Efficient Faucets: Consider upgrading to water-efficient faucets with modern features such as ceramic disc cartridges and adjustable flow rates to conserve water and reduce the risk of leaks.
By following these expert tips and techniques, you can repair a leaky bathtub faucet with confidence and restore proper functionality to your plumbing fixtures. However, if you encounter difficulties or require professional assistance, don't hesitate to contact Sunshine Plumbers for expert plumbing services. Our team of skilled plumbers is dedicated to providing prompt and reliable solutions to all your plumbing needs, ensuring your complete satisfaction and peace of mind.


